Bitx20 Version 3
You can find Sunil's blog page with ordering links at Sunil's blog page
Important!
There are new assembly manuals available. These are step-by-step instructions. You can obtain them from:
New Version 3 Exciter Board Assembly Manual
Adjusting the balanced modulator
New Version 3 Linear Board Assembly Manual
Full
Resolution Picture of completed exciter board
This is a
large format, full resolution picture of a completed board. The
file is 2.6 meg in size. This will allow you to zoom in on sections
to check the construction.
\
The old pages below are left for informational purposes. They contain some very useful waveform and construction photos.
After building a Far Circuits Bitx20 and a Hendricks's QRP Kits bitx20a kit, I decided to build another bitx after seeing this posting:
A new batch of Bitx PCB, in glass epoxy ,masked, roller tinned and with
component place-ment is in ready stock for delivery world-wide.
Also available is the pcb for Avala 01 Sdr monoband tcvr.
I am giving a very special discount on the pbc's. To know further about
the discount, kindly send me a mail at suillakhani123@ gmail.com
I sent off my email and received this back:
Dear Leonard,
The Bitx Version 3 PCB is for $10 PCB +Coils+1 No 2570 transistor.
The Avala sdr pcb is for $5.Shipping is extra $ 10.
I looked at this web page to get an idea what the Avala sdr was and decided that I couldn't pass up a deal like this.
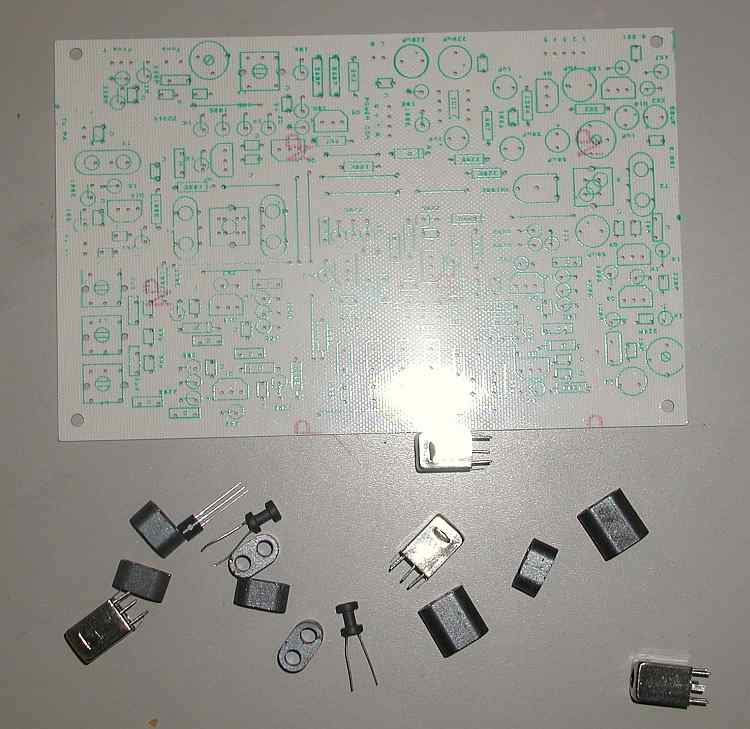
After a trip to paypal, the boards for the bitx and the avala were ordered. Soon I received a package in the mail. In it was 3 pcb's. This was the bitx board along with some of the specialized parts. The other boards were the PA board and the Avala board,

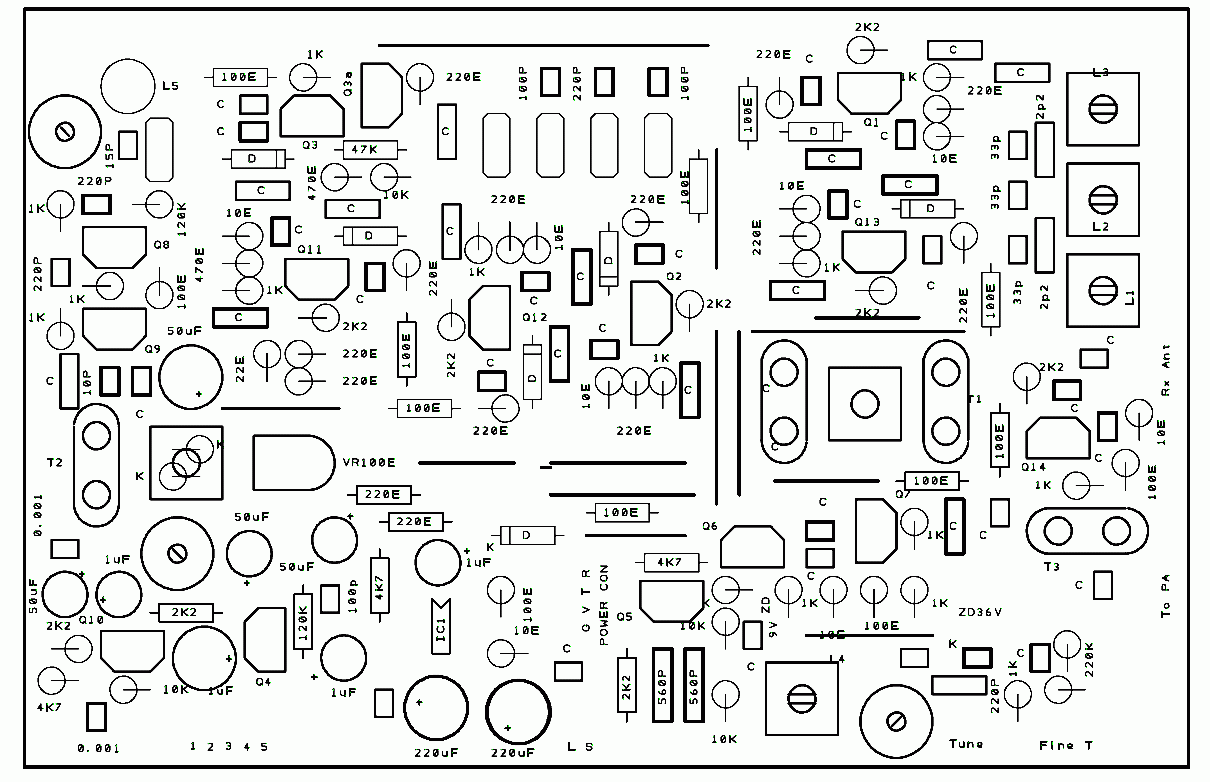
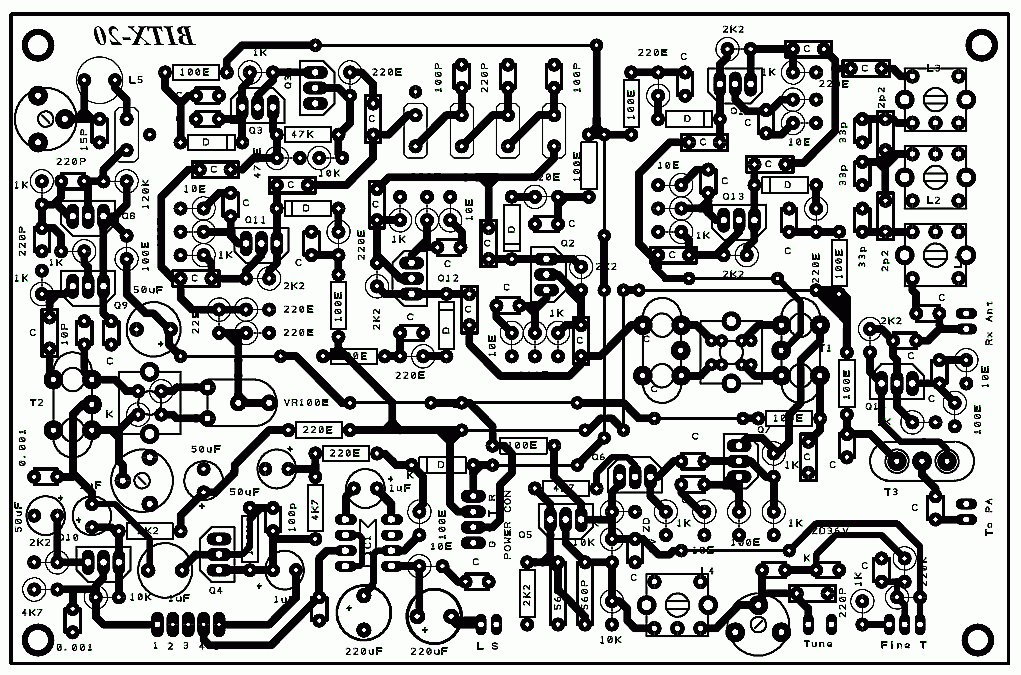
There was enclosed, a schematic, a component layout, and a few other pages of documentation.


After examining them, I decided to make an "exploded" layout drawing using a section-by-section approach to the assembly and testing. I will function test each section as it is assembled. This will almost insure that the board will function when everything is completed. I already had an head start on the project as this would be the 3rd Bitx I had built. I already knew what the signals should look like in each stage.
