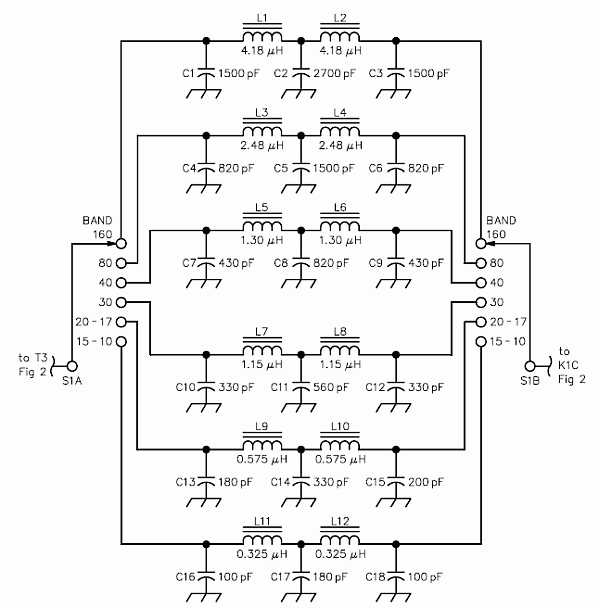

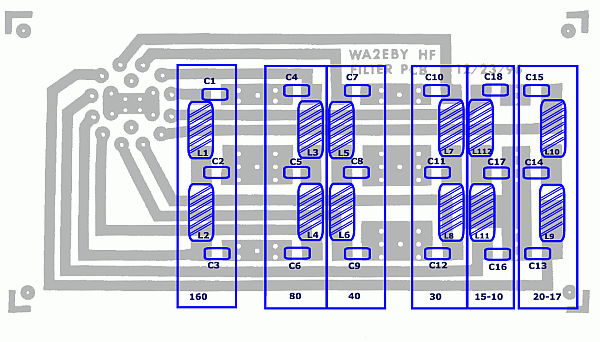
Component layout
Before you install any components, use a drill and enlarge the holes for the switch. A #45 drill will allow a careful installation of the switch. Be gentle when installing the switch as the tan part of the body is bakelite and is breakable if you use to much force.
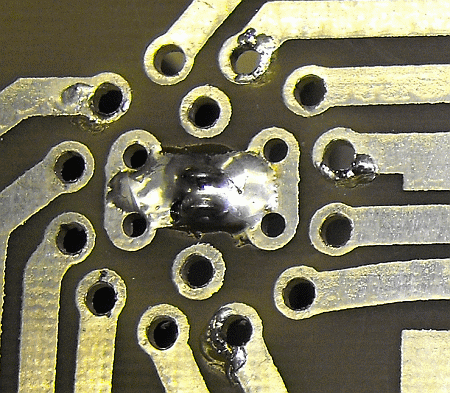
The Far Circuits boards do not have plated through holes so wires need to be soldered to tie the top of the board to the bottom. The easiest way I found to do this was to "sew" through the holes with some wire.
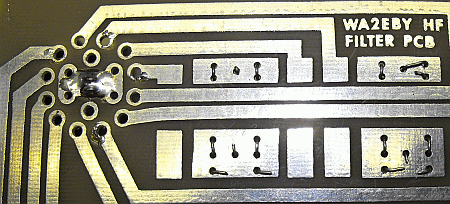
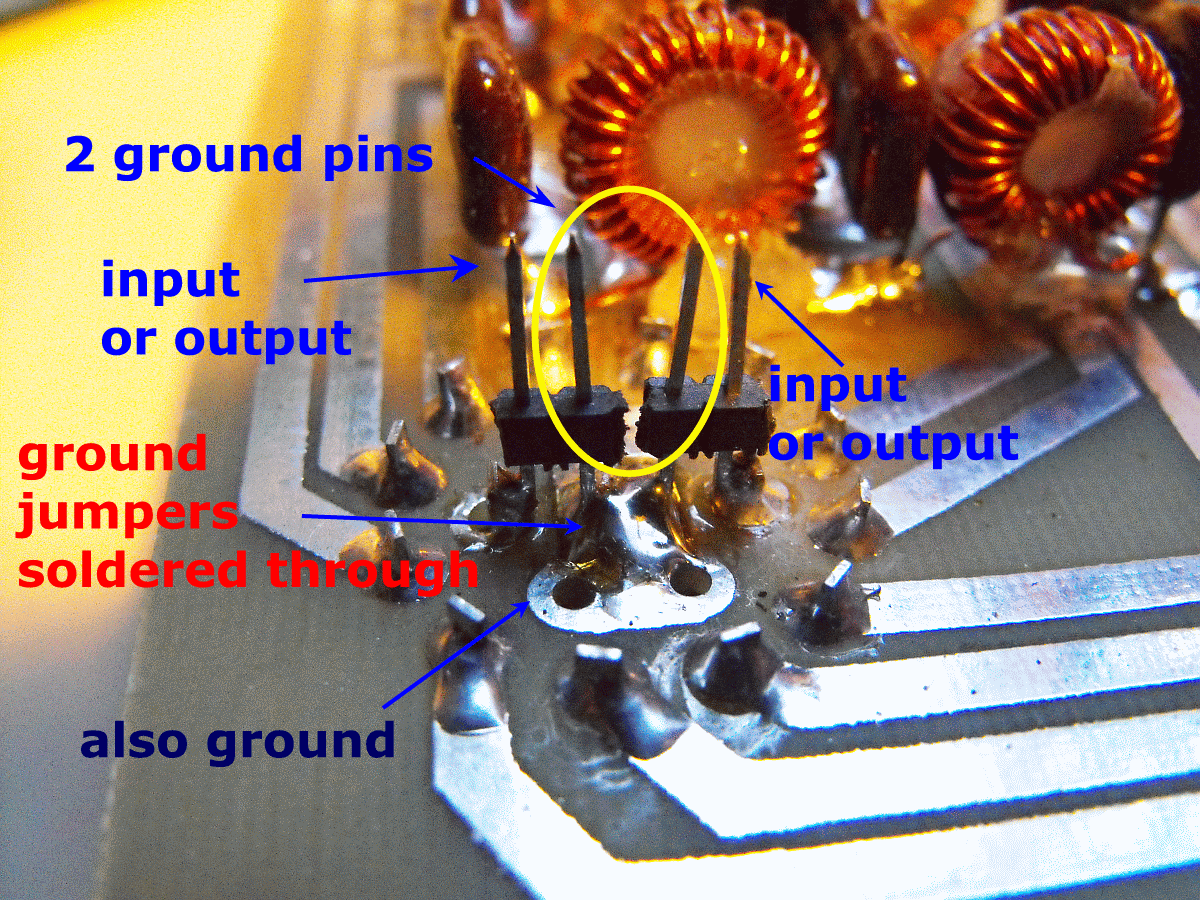
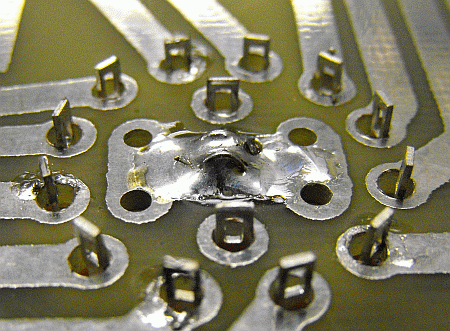
When installing ground jumpers for the switch, do only the 4 center holes. The 2 left outside holes and the 2 right outside holes are for the ground shield of the coax input and output cables. The hole above and below the center pad are for the center conductor of the coax.
When installing the switch, do not mount it flush to the board. The ground jumper wires under the switch may short out sections of it. Press it through the board just far enough that the bottom of the wire holes on the switch lugs are even with the bottom of the board. Solder 1 lug then adjust the switch so the shaft is extending at a 90 degree angle, then solder another and check. If you don't get this fairly accurate, the switch will sit crooked on the board. This won't effect it operationally, it's just a construction defect.
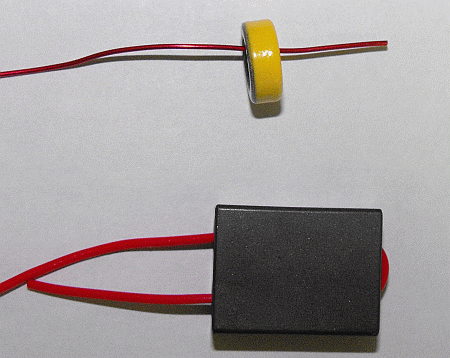
Torroid turns are counted as below. Each core has 1 turn.
On donut cores, the wire passing through the center is 1 turn and you end up on the other side of the core. On binocular cores, each time you pass through both holes counts as 1 turn and you end up on the same side of the core..
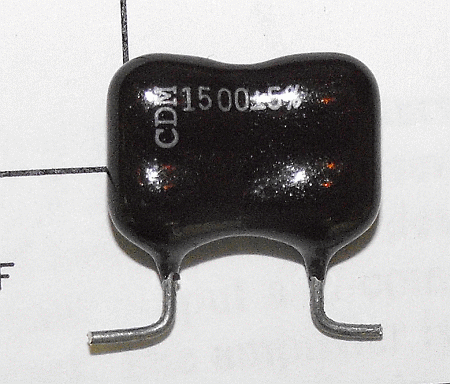
Form the component leads as shown. Adjust the ends of the inductors to rest on the correct circuit board pads.
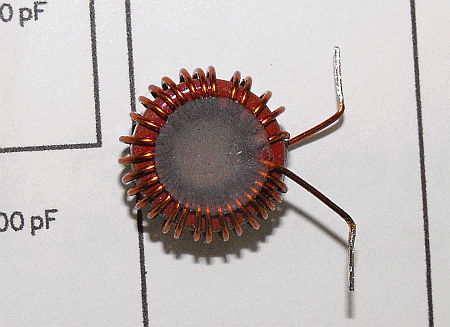
On cores wound with smaller diameter wire, it is sometimes desireable to "lock" the turns in place by taking a 1/8" thick slice of hot melt glue, set it on top of the wound core and use a heat gun to melt the glue.
Mount the inductors and capacitors as shown:
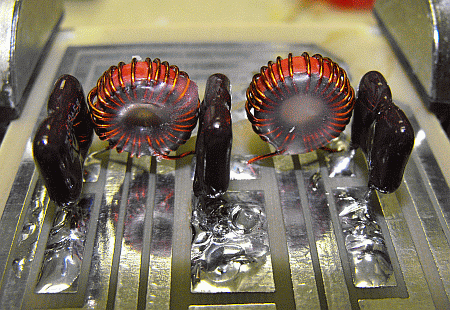
We will install the filter components going from the switch at the left towards the other side on the right.
L1 and L2 - 160 meters
30 turns #24 on a T50-2 core. It will take 22" of #24 wire to wind 30 turns without overlapping. The final inductance should be around 4.18uh.
L3 and L4 - 80 meters
22 turns #24 or #22 on a T50-2 core. This will take 17" of wire. The final inductance should be around 2.48uh.
L5 and L6 - 40 meters
16 turns #22 on a T50-2 core. This will take 13" of wire. The final inductance should be around 1.30uh.
L7 and L8 - 30 meters
14 turns #22 on a T50-2 core. This will take 12" of wire. The final inductance should be around 1.15uh.
The 20-17 meter and the 15-10 meter sections are reversed and flipped vertically to make the board layout easier so the next section we want to do is the 15-10 meter section
L11 and L12 -15-10 meters
8 turns #22 on a T50-6. Note the core type change! This will take 7" of wire and should be around .325uh.
L9 and L10 - 20-17 meters
11 turn #22 on a T50-6 core. This will take 9 " of wire and should be around .575uh.
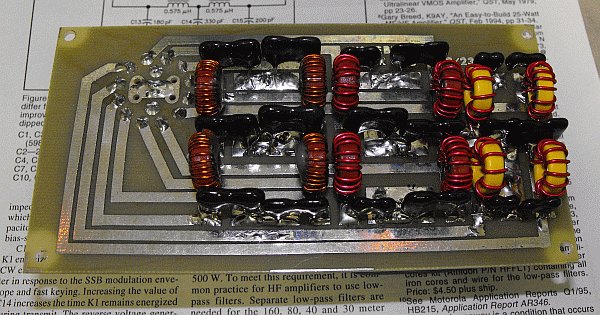
The input/output connections are shown below. The filter is symmetrical so the input or output pins can be reversed. Coax may be soldered directly to the pads or molex pins as shown.
