Building the Kits and Parts 10 watt linear
part 2 - winding the toroids and coils
In the past there have been times when winding the toroids was just a job. So far I have wound the first 2 and they were a ball to do! This kit is fun!
The first one to wind is L1. It's just a center tapped inductor. It's feeding the +12 volts to the collector of the transistors. This is a little different configuration that what I have seen before. The output stage is running push-pull. All of the ones I've seen before feed the power through the center tap of the output transformer.
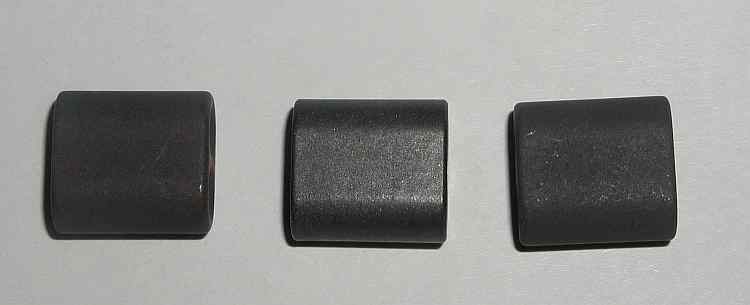
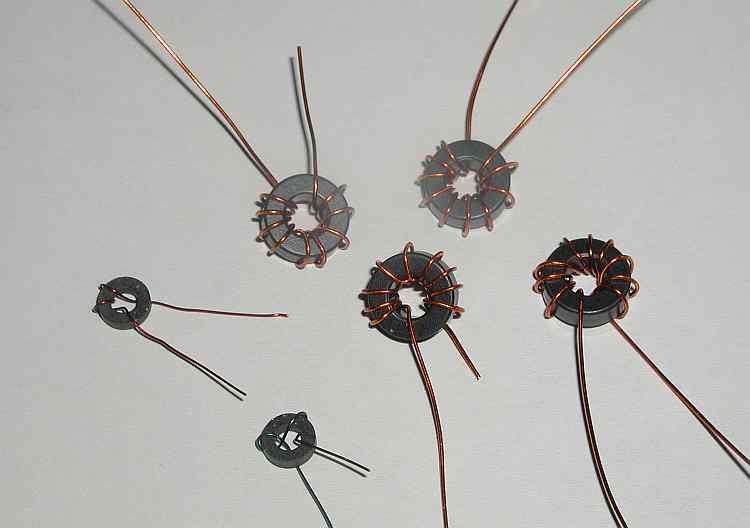
The first step is to select the correct binocular core. There are 3 cores that are identical sizes but the inductor uses the shiny core. The other 2 are a dull color. You can see the shiny one in the center.
The 3 cores.
The directions say:
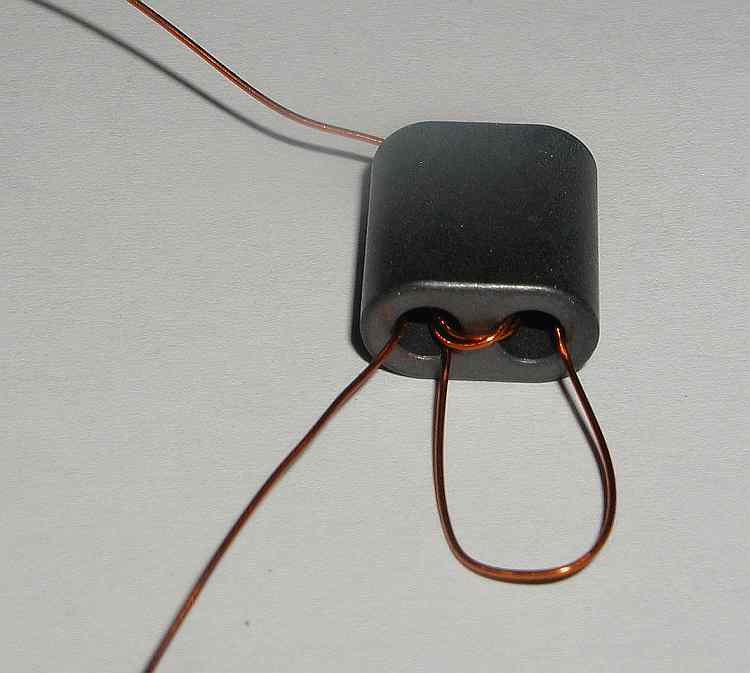
"Cut 12 inches of 26 GA wire. Fold the wire in half and insert into both holes of L1
leaving a one inch loop. Wind each wire 2 and 1/2 turns times more through the binocular."
Here I have the loop pointed down and I've wound one of the wire the 2 1/2 more times. We started with the "U" and the 2 wires at the top of the picture. Winding them 2 1/2 more turns will make then point back out the bottom. The 1/2 turn gets them back to the bottom and the 2 more full turns will bring them both back out the bottom where they started from. We actually wound each wire 3 full turns.
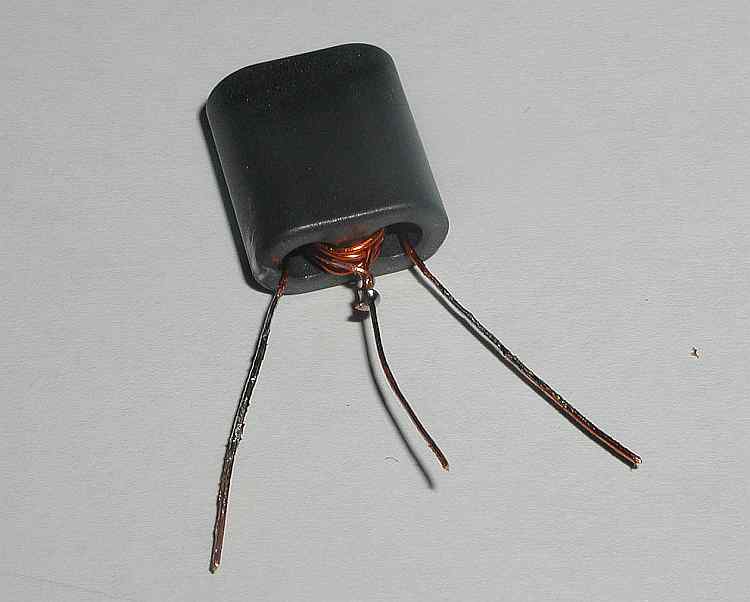
Here it's completed.
All installed
After following the directions for T1 your transformer should look like the picture above. Be careful not to mix the windings up, Follow the directions keeping "left" and "right" straight and cut the wires to the length specified to allow using length as an identifier of the windings. Ignore my ugly 33 ohm resistor. That's my replacement one for the one I didn't get. You will have a proper metal film 1/8th watt that fits the board.
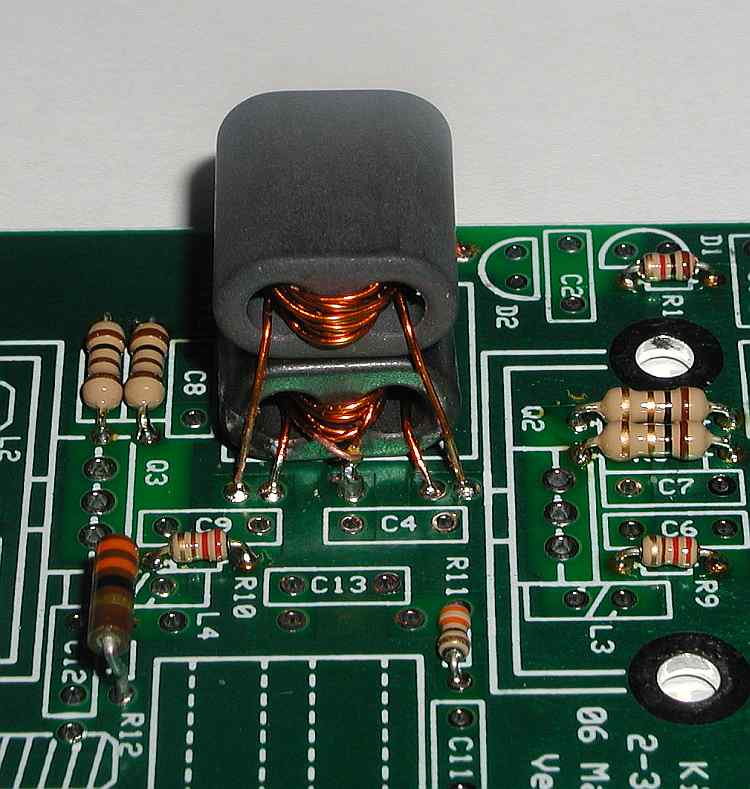
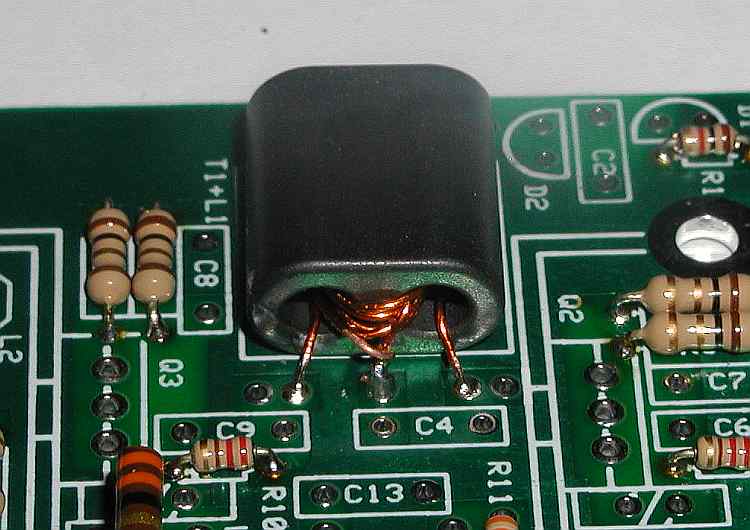
Installing it on the board and soldering it will give you something that looks like this.
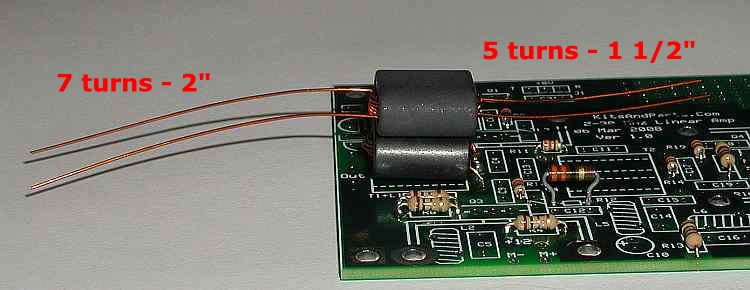
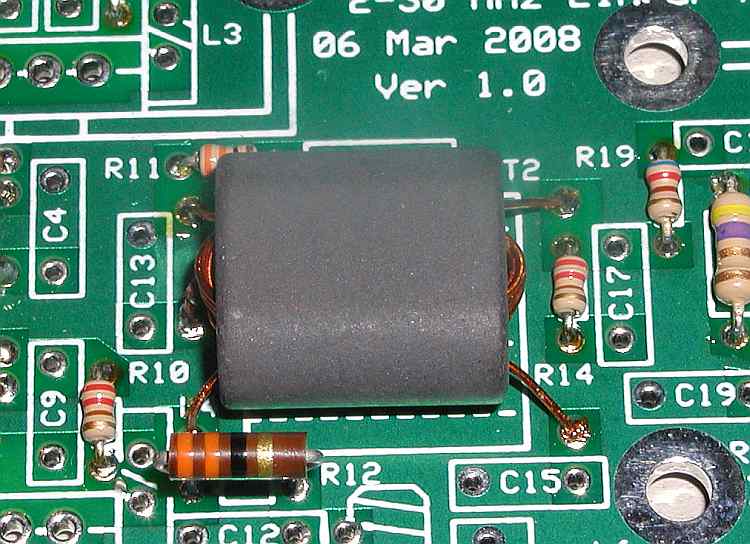
Next we wind T2. It winds much the same way as T1 but just keep the right and left ends straight as there are different number of turns on each.
Now we get to the smaller transformer and the small inductors. These weren't quite as much fun as they are hard to hold and the smaller wire is harder to work with.
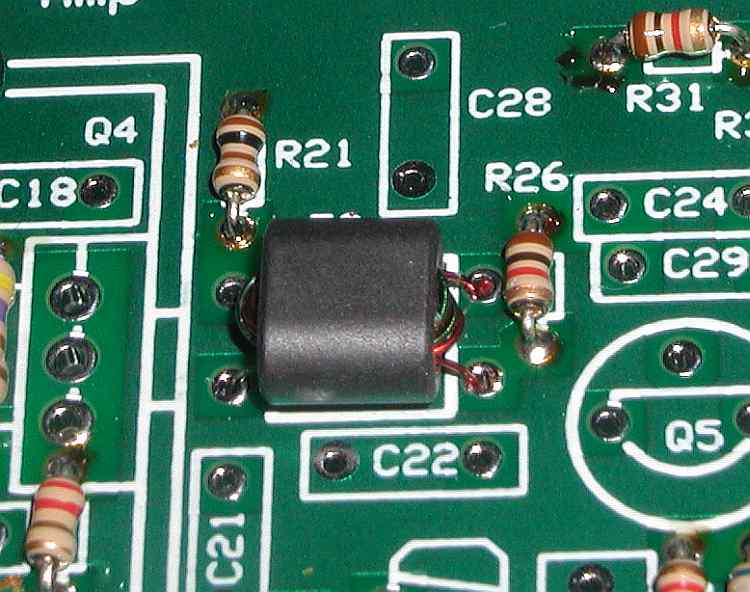
We are almost done with the winding. After a short time, we now have these all done also. Don't install them yet though.
Next step, install the capacitors. It won't be long now before we are done!